The ATtiny25/45/85 Is a Great Small Microcontroller
For small-scale electronics projects, using a full-size microcontroller like the Arduino Uno can be overkill. The ATtiny25/45/85 series microcontroller can really help when space is at a premium.
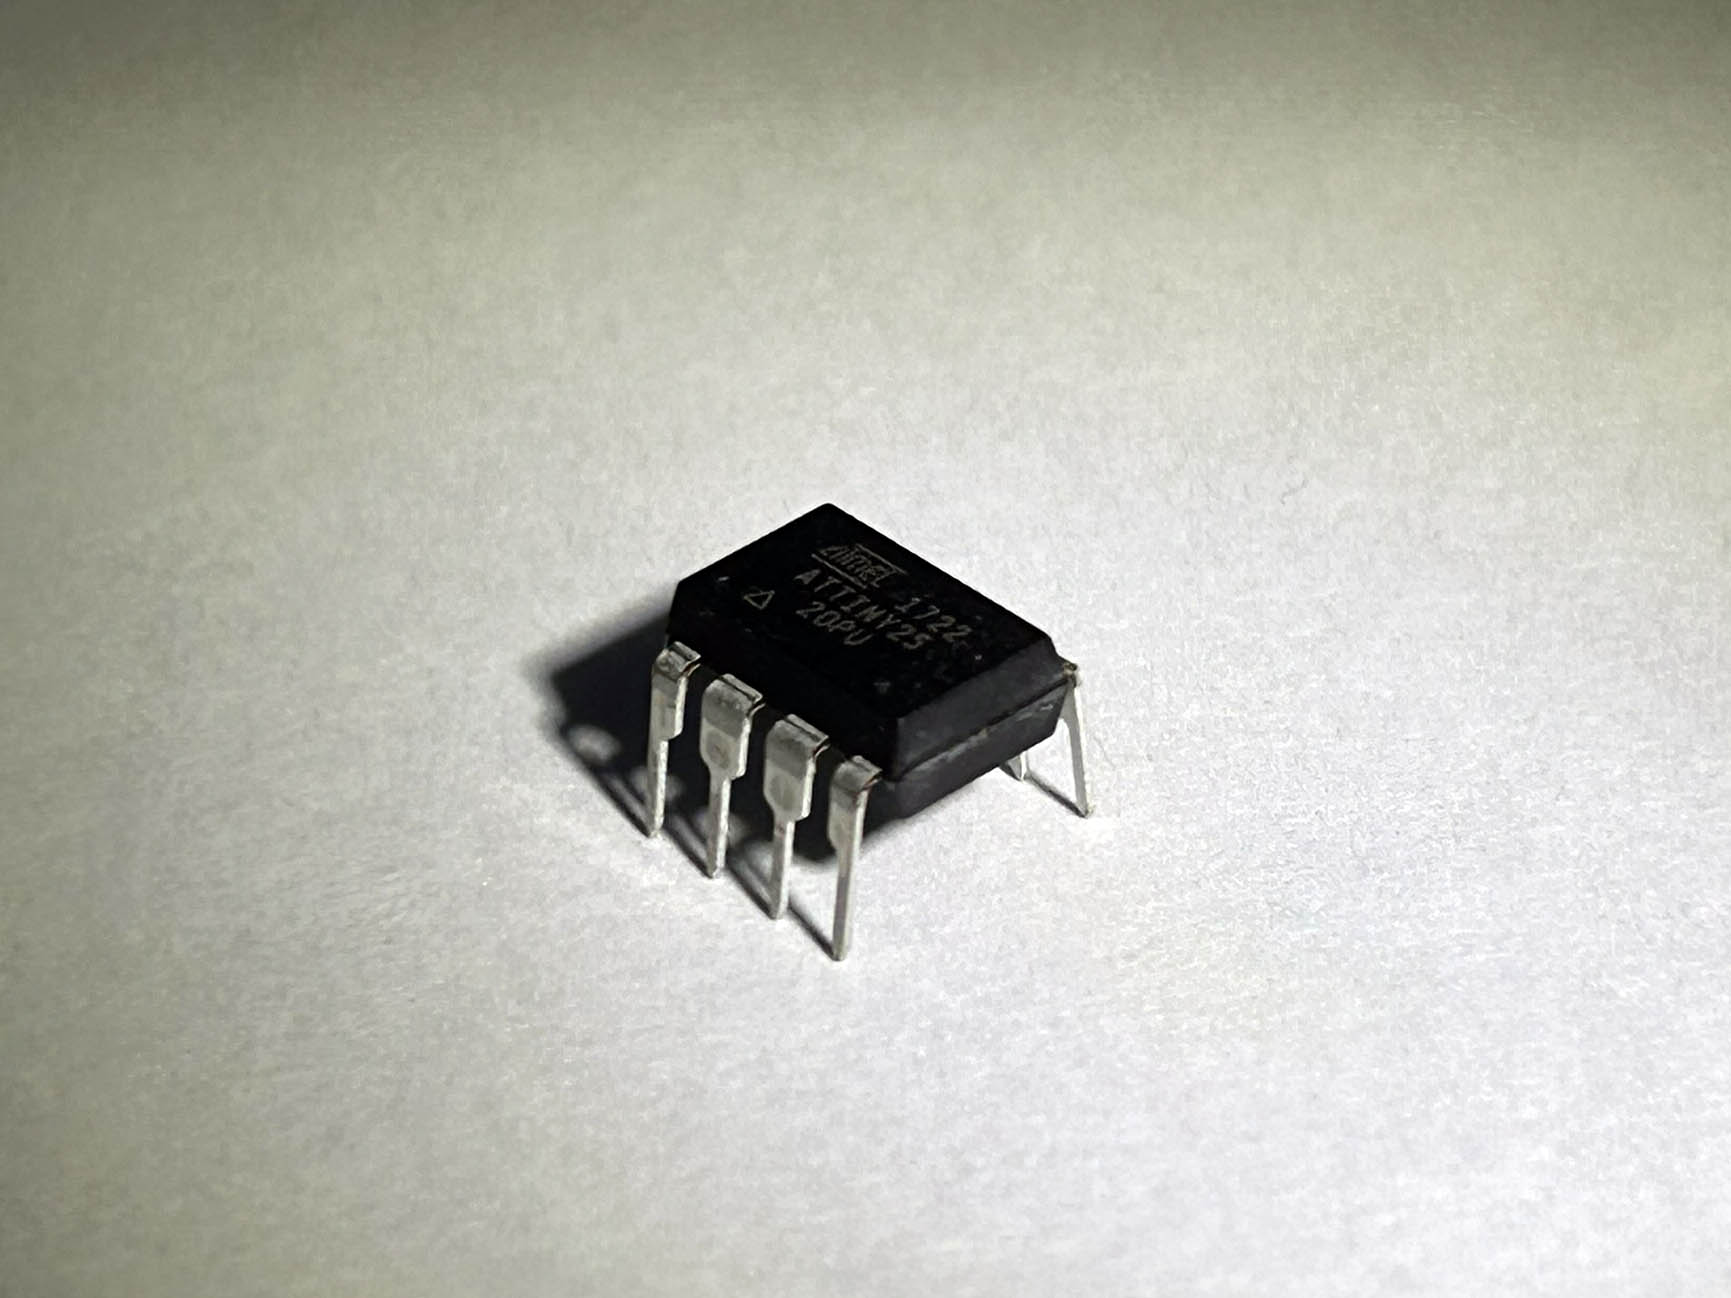
This series of tiny 8-bit microcontrollers from Microchip (formerly Atmel) pack a decent punch in a small, cheap package. They come with 8 pins and low power consumption, ideal for projects where space, simplicity, and efficiency matter.
Why Use ATtiny25/45/85?
These chips are perfect for projects where you don’t need all the I/O pins, memory, and peripherals of a full-size Arduino Uno board. Instead of occupying a large portion of your PCB or breadboard, an ATtiny fits neatly into tight spaces and draws far less current, often running for months on a small coin cell battery.
Typical use cases include:
LED blinkers and light patterns
Simple sensors and data loggers
IR remotes or RF transmitters
Small motor controllers or timers
Low-power wearable gadgets
Specs at a Glance:
| Chip | Flash (Program) | SRAM | EEPROM | Clock Speed | Pins |
|---|---|---|---|---|---|
| ATtiny25 | 2 KB | 128 B | 128 B | Up to 20 MHz | 8 |
| ATtiny45 | 4 KB | 256 B | 256 B | Up to 20 MHz | 8 |
| ATtiny85 | 8 KB | 512 B | 512 B | Up to 20 MHz | 8 |
Programming the ATtiny Using an Arduino Uno:
One of the easiest and cheapest ways to upload code is by using an Arduino Uno as an ISP (In-System Programmer). The basic steps are:
Step 1: Load the ArduinoISP Sketch
Open the Arduino IDE and go to:
File → Examples → 11.ArduinoISP → ArduinoISP

Upload this sketch to your Arduino Uno. This will allow the Uno to act as a programmer.
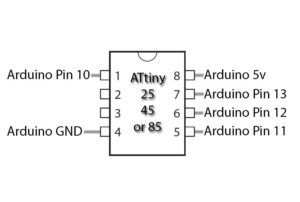
Step 2: Wire the Uno to the ATtiny
| ATtiny Pin | Function | Connects to Arduino |
|---|---|---|
| Pin 1 (RESET) | Reset | Pin 10 |
| Pin 4 (GND) | Ground | GND |
| Pin 5 (MOSI) | Data In | Pin 11 |
| Pin 6 (MISO) | Data Out | Pin 12 |
| Pin 7 (SCK) | Clock | Pin 13 |
| Pin 8 (Vcc) | Power | 5V |
Step 3: Add the ATtiny Boards to the IDE
-
Go to File → Preferences.
-
In Additional Boards Manager URLs, paste:
-
https://raw.githubusercontent.com/damellis/attiny/ide-1.6.x-boards-manager/package_damellis_attiny_index.json
-
-
Click OK and go to Tools → Board → Board Manager.
-
Search for “attiny” and install the package.
You’ll now see ATtiny25/45/85 boards available in your Tools → Board menu.
Step 4 — Select Board and Upload Code
Select Board: ATtiny25/45/85
-
Choose the correct Processor (e.g. ATtiny85) and Clock (e.g. Internal 8 MHz)
-
Under Programmer, choose Arduino as ISP
-
Load your sketch and click Upload using Programmer (Shift + Upload button)
That’s it, your code will be flashed to the ATtiny.